You’ve probably been there. You try to upload a photo to a website, but the file is too large. Or you send a screenshot via email, and it bounces back. And nobody wants to install bloated software just to change a file format.
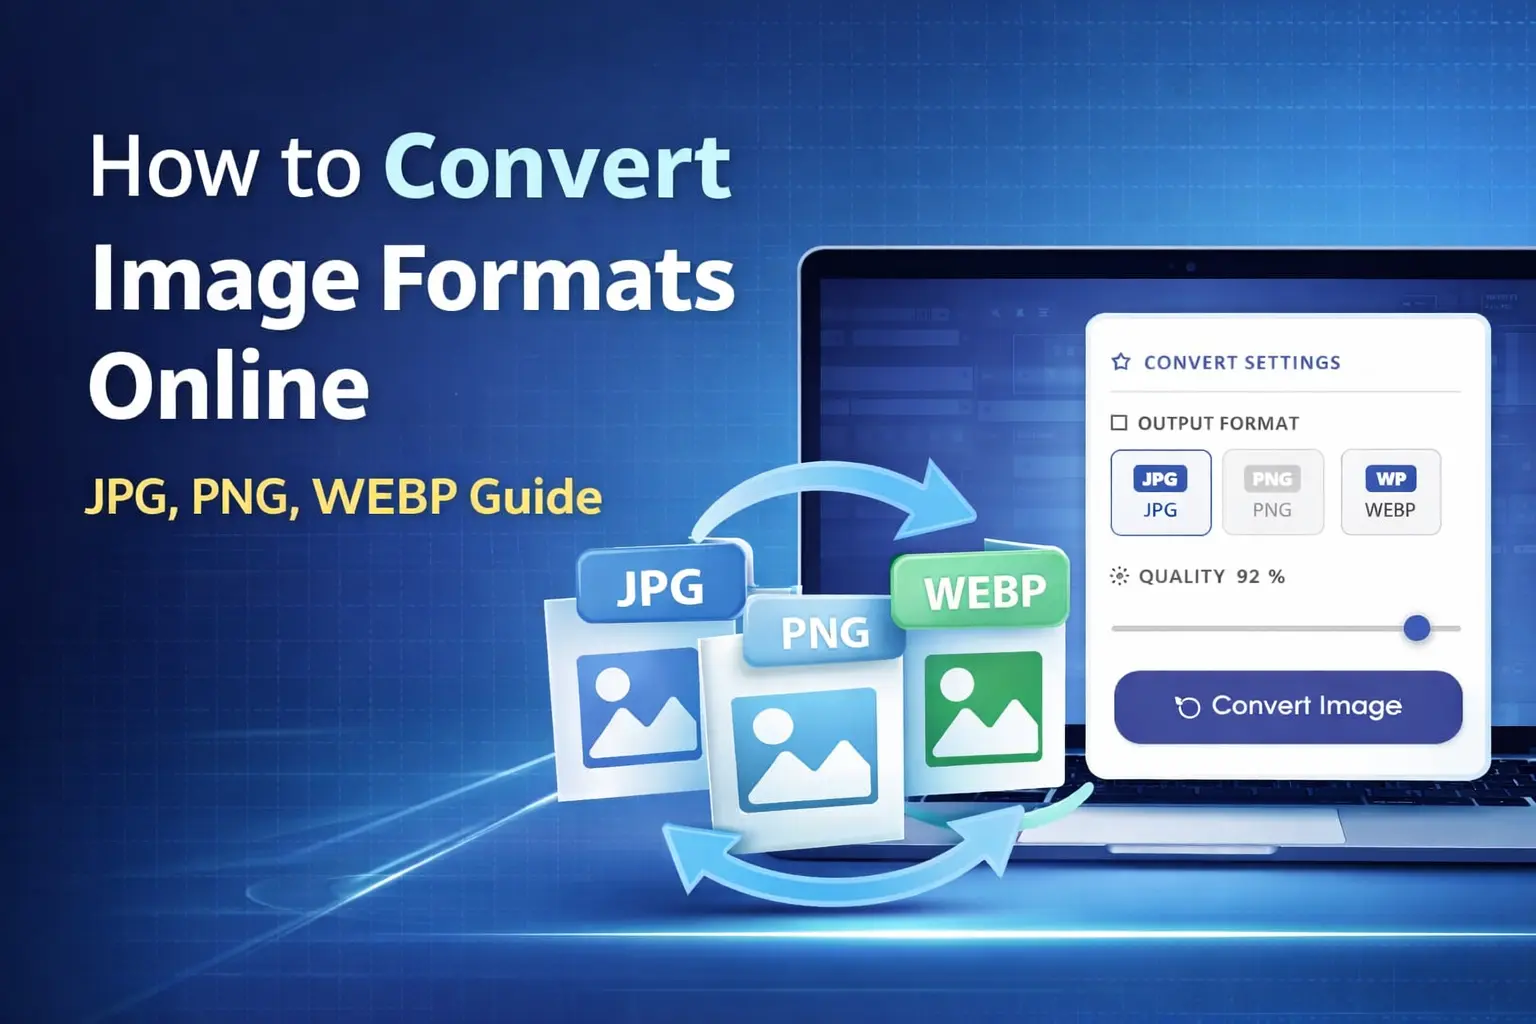
Getting the right image format shouldn’t require a tech degree. Our free image converter solves this in a few clicks, directly in your browser.
Whether you’re a web developer compressing assets or just trying to share a vacation photo, here’s how to handle JPG, PNG, and WEBP properly.
Table of Contents
Key Takeaways
- Switch between JPG, PNG, and WEBP without installing anything.
- Reduce image file sizes while controlling visual quality.
- Access the tool from any device with an internet connection.
- Understand exactly which format works best for your specific use case.
- Process images securely without permanent server storage.
Need to Convert an Image Quickly?
Use our free online Image Converter to change image formats in seconds. Convert JPG, PNG, or WEBP easily for websites, social media, and emails.
Convert Your Image Now1. What an Image Converter Actually Does (And When You’ll Need One)
An image converter changes a file from one format to another—JPG to PNG, PNG to WEBP, or any combination. That sounds simple, but the implications matter.
Different formats handle color data, transparency, and compression differently. A 10MB PNG might shrink to 500KB as a WEBP with barely noticeable loss. That’s the difference between a sluggish webpage and a fast one.
Here’s when you actually need one:
| Reason | Real-World Example | Web Performance | A product catalog with 50 images loads 3x faster after converting to WEBP. |
|---|---|
| Platform Rules | LinkedIn accepts PNG for logos but recommends JPG for banner images. |
| Email Limits | Gmail blocks messages over 25MB. Converting a 30MB PNG to JPG at 85% quality drops it to 4MB. |

2. Four Situations Where You’ll Need to Convert Images
Let’s get specific. These aren’t hypothetical scenarios. They happen daily.
Website Optimization (The Performance Angle)
Core Web Vitals matter for SEO. Google measures load speed, and oversized images are the #1 culprit.
Real example: A photography portfolio using JPGs at 90% quality can reduce total page weight from 12MB to 3MB by converting to WEBP at 75% quality. The difference is invisible to visitors but massive for load time.
Social Media Platform Rules
Instagram prefers JPG. Discord handles PNG well but struggles with extremely large files. Facebook’s compression algorithm treats JPG and PNG differently—PNG often gets recompressed anyway, so you might as well start with JPG.
Email Attachments and Storage Limits
A client once sent me a 28MB PNG screenshot. It bounced. Converting it to JPG at 80% quality dropped it to 1.2MB. The text was still perfectly readable. That’s the kind of practical fix this tool handles.
Print vs. Digital Requirements
Print shops want TIFF or high-quality JPG (usually 300 DPI). Web images only need 72 DPI. Converting a print-ready JPG for web use can shrink file size by 90% without changing dimensions.
| Format | Typical Use | Compression | Transparency |
|---|---|---|---|
| JPG | Photos, web, email | Lossy | No |
| PNG | Logos, screenshots, graphics | Lossless | Yes |
| WEBP | Web performance, modern browsers | Both | Yes |

3. JPG vs. PNG vs. WEBP: Breaking Down the Differences
If you don’t know the difference between these three, you’re probably using the wrong format right now.
JPG (or JPEG)
Best for: Photographs, real-world images, anything with smooth color gradients.
The catch: JPG uses lossy compression. Every time you save a JPG, you lose a little data. But for photos, you won’t notice until you drop below 70% quality.
File size reality: A 5MB camera raw file becomes a 500KB JPG at 85% quality. That’s a 90% reduction.
PNG
Best for: Logos, UI elements, screenshots, images with text, anything needing transparency.
The catch: Lossless compression means larger files. A screenshot saved as PNG might be 2MB. The same image as JPG might be 300KB.
Transparency matters: PNG is the only mainstream format that supports full alpha transparency (smooth edges on transparent backgrounds). JPG doesn’t do transparency at all.
WEBP
Best for: Web use, period. Google developed it to replace both JPG and PNG in many cases.
The trade-off: Older browsers (Internet Explorer, old Safari) don’t support it. But as of 2025, over 97% of browsers support WEBP.
Real numbers: A 1MB PNG converts to WEBP at around 250KB with identical quality. That’s a 75% reduction.
4. Why Use This Converter Instead of Desktop Software
I’ve used Photoshop, GIMP, and command-line tools for years. They’re powerful. But they’re overkill for most conversions.
No Installation, No Updates
You don’t need admin rights. You don’t need to wait for a 2GB suite to download. Open your browser, convert, close the tab. Done.
Browser-Based Speed
The processing happens on our servers, not your device. Your old laptop won’t struggle with a 50MB PNG. Upload, convert, download. Usually under 10 seconds.
You Control the Quality
Unlike many free tools that force maximum compression, our slider gives you granular control. Want a 95% quality JPG for print? Set it. Need a 60% WEBP for a thumbnail? Set it.
Security and Privacy
Files stay on our servers only during the active session. We don’t store them. After you download the result, the original and converted files are removed automatically.
5. How to Use the Tool (Step by Step)
Here’s the workflow. It takes about 20 seconds once you know what you’re doing.
Step 1: Choose Your Output Format
Pick JPG, PNG, or WEBP based on what we covered above. Still not sure? Use this rule: photos to JPG, logos to PNG, web images to WEBP.
Step 2: Upload Your File
Drag and drop or click to browse. We support all major image formats as input, including JPG, PNG, WEBP, GIF, and BMP.
Size limit: 50MB per file. That covers almost any use case except massive print files.
Step 3: Adjust Quality (If Needed)
The default is 85%—a sweet spot for most web use. Need a specific file size? Lower the quality incrementally until you hit your target.
Pro tip: For JPG and WEBP, 75% to 85% is visually lossless 95% of the time.
Step 4: Convert and Download
Click “Convert.” Wait a few seconds. Download your file. That’s it.
6. Converting JPG to PNG: When and How
Going from JPG to PNG is rare. You’re moving from lossy to lossless, which doesn’t magically restore quality. But there are valid reasons.
When to Make the Switch
You need transparency. JPG doesn’t support it. If you have a product photo and want to remove the background, convert to PNG first so you can add transparency later.
You’re editing and re-saving repeatedly. Each JPG save degrades quality slightly. Convert to PNG for editing, then export to JPG at the very end.
Step-by-Step
Upload your JPG. Select PNG as output. Click convert. The resulting file will be larger, but you’ll have full lossless quality and transparency support.
7. Converting PNG to JPG: Cutting File Size
This is the most common conversion I see people need. PNGs are huge. JPGs are small. The math is straightforward.
When PNG to JPG Makes Sense
Your image has no transparency. If it’s a photo or a screenshot without a transparent background, JPG is almost always better.
You need to email the file. A 10MB PNG becomes a 1.5MB JPG at 80% quality.
Step-by-Step
Upload your PNG. Select JPG. Adjust the quality slider downward if you need a smaller file. Download.
8. Converting Images to WEBP (The Modern Standard)
If you run a website and aren’t using WEBP, you’re leaving performance on the table.
Why WEBP Wins
Google claims WEBP offers 25-34% smaller file sizes than JPG at equivalent SSIM quality. In my testing, that’s accurate. A 500KB JPG at 85% quality becomes a 350KB WEBP at 80% quality that looks identical.
And WEBP supports transparency like PNG, but with much smaller files.
Step-by-Step WEBP Conversion
Upload any image (JPG, PNG, etc.). Select WEBP. For web use, set quality between 70 and 85. Download and replace your old image assets.
9. Converting WEBP Back to JPG or PNG
WEBP is great, but not everyone supports it. Some content management systems, email clients, and older applications still choke on WEBP.
When to Convert Away from WEBP
A client requests JPG. A printing service doesn’t accept WEBP. A legacy system requires PNG. These are the rare but real cases where you need to go backward.
Step-by-Step
Upload your WEBP. Select JPG or PNG. Convert. The quality will match the original. Note: WEBP to JPG loses transparency (JPG doesn’t support it). WEBP to PNG preserves transparency but creates larger files.
10. Getting the Best Results: Quality vs. File Size Trade-offs
Here’s where most people mess up. They either leave images at 100% quality (massive files) or crank compression too high (ugly artifacts).
Quality Settings by Use Case
Professional print (300 DPI): 95-100% quality. File size doesn’t matter. Quality does.
Web hero images: 80-85% quality. Balance of clarity and speed.
Email attachments: 70-75% quality. Email clients compress images anyway, so starting lower avoids double compression.
Thumbnails: 50-60% quality. At small sizes, artifacts are invisible.
The 80% Rule
For 90% of web images, 80% quality is the sweet spot. The file size drops by roughly 50% compared to 100%, but most people can’t tell the difference in a blind test.
11. Common Mistakes (And How to Avoid Them)
After reviewing thousands of user conversions, here’s what goes wrong most often.
Mistake #1: Converting a PNG to JPG without checking for transparency. Result: white backgrounds where transparency used to be. Always check your image first.
Mistake #2: Maxing out the quality slider for web use. A 100% quality JPG is often 2-3x larger than an 85% version with no visible difference.
Mistake #3: Converting back and forth repeatedly. Each JPG save degrades quality. Convert once, then stop.
12. Conclusion
Image conversion isn’t complicated. Pick the right format for your goal. Adjust quality to balance size and clarity. Use a tool that works without installation or hidden fees.
That’s what this converter does. Upload, choose your format, download. No watermarks. No subscriptions. No storage of your files.
JPG for photos and general use. PNG for logos and transparency. WEBP for modern websites and performance. Keep that formula in mind, and you’ll never upload the wrong format again.
FAQ
Is the converter really free?
Yes. No limits, no hidden fees, no credit card required.
How do I convert an image to JPG?
Upload your file, select JPG as the output format, and click convert. Works for PNG, WEBP, GIF, and others.
When should I convert JPG to PNG?
Only when you need transparency or lossless editing. Otherwise, stay with JPG to keep file sizes smaller.
Can I convert PNG to WEBP for my website?
Absolutely. That’s one of the best use cases. Expect file size reductions of 60-80% with no visible quality loss.
Do I need to install anything?
No. It works entirely in your browser, on any device.
Is it safe to upload personal photos?
Yes. Files are processed temporarily and deleted from our servers after you download the result. We don’t store or access your images.
What quality setting should I use for email?
70-75% for JPG. Email providers will compress images further, so starting lower prevents double compression artifacts.
What formats does the tool support?
Input: JPG, PNG, WEBP, GIF, BMP. Output: JPG, PNG, WEBP.
Why use this over other free converters?
No registration, no watermarks, full quality control, and automatic file deletion after conversion. Most free tools fail on at least one of those.
Need to Convert an Image Quickly?
Use our free online Image Converter to change image formats in seconds. Convert JPG, PNG, or WEBP easily for websites, social media, and emails.
Convert Your Image Now